Brilliance
Drop, paste (Ctrl+V), or click to upload
Upload a photo to get started
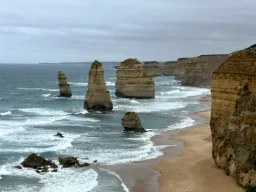
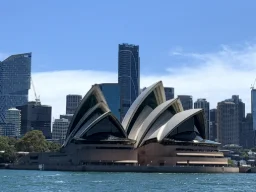
Or try a sample:

Adjust Photo Brilliance Online – Free & Instant
Our free online brilliance tool lets you fine-tune the luminosity of any photo in seconds — no software to install and no account required. Brilliance adjustment intelligently lifts shadows and midtones when you push the slider positive, and gently subdues highlights when you pull it negative, so your photos look naturally radiant without blowing out bright areas or crushing dark ones.
How to Adjust Brilliance
Drop a photo onto the panel, click Upload Photo, or paste with Ctrl + V. Supports JPEG, PNG, WebP, HEIC & GIF.
Drag the slider between −100 and +100. Positive values add luminosity to dark areas; negative values tone down bright areas. Toggle the preview to compare with the original.
Choose an output format (JPEG, PNG, or WebP) and click Save Photo to download at full original resolution.
Why Use This Brilliance Tool?
- Luminance-aware adjustment – the algorithm boosts dark pixels more than bright ones, so highlights are never blown out.
- Full-resolution output – edits are applied to the original image size, not a downscaled preview.
- HEIC support – iPhone photos in HEIC/HEIF format are automatically converted before editing.
- Multiple formats – save as JPEG, PNG, or WebP with adjustable quality for JPEG and WebP.
- Works entirely in your browser – your photos are never uploaded to any server.
- Paste from clipboard – paste a screenshot or copied image directly with Ctrl + V / Cmd + V.
- Free & unlimited – no signup, no watermarks, no limits.
Brilliance vs. Brightness – What’s the Difference?
Standard brightness adjustment adds or subtracts a fixed value from every pixel equally, often washing out highlights or muddying shadows. Brilliance, by contrast, applies a luminance-weighted correction: the boost is strongest in the darkest areas and tapers off smoothly toward the highlights. The result is a more natural-looking lift that preserves tonal detail across the entire image.
Common Uses for Brilliance Adjustment
- Portrait photography – lift shadows under eyes and on skin without overexposing the face.
- Indoor and low-light shots – brighten underexposed photos while keeping window highlights intact.
- Product photography – add a polished, luminous quality to product images for e-commerce.
- Landscape photos – bring out foreground detail without blowing out the sky.
- Passport & ID photos – ensure the face is well-lit and clearly visible against the background.